I've done this before on older version. Things seem to have changed since so I'm putting this checkpoint for future reference.
Requirements:
- The firmware source code: link
- VS Code with PlatformIO extension installed
- A working SKR 1.4 board (doesn't have to be Turbo)
Setup:
I'll go through my configuration in the same order as in config file (almost). [?] is the line number.
- Open VS Code, go to PlatfromIO and pick the source folder containing
platformio.ini - In
platformio.inichangedefault_envstoLPC1769(LPC1768for the non Turbo) - In
Marlin/Configuration.hsetMOTHERBOARDto:
[90]  #define MOTHERBOARD BOARD_BTT_SKR_V1_4_TURBO
[101] #define SERIAL_PORT -1
[114] #define BAUDRATE 115200
- Rename the build, I like to differentiate between laser and printer firmwares:
[138] #define CUSTOM_MACHINE_NAME "3D Printer"
Build and flash
- From the blue status bar in VS Code, choose the environment 'Default'
- Run a test build by clicking on the check mark on the same status bar (or from PlatformIO extension).
- The built firmware should be located in the project's folder under
.pio/build/LPC1769/firmware.bin - To flash it, copy it to the SD card, plug it to the SKR board, and reboot (the board, not the computer... yes the board is technically a computer... you know that I mean :D ).
- After flashing, the firmware will be renamed to
firmware.cur
Thermals
- Activate the bed's temp sensor
[547] #define TEMP_SENSOR_BED 1
[630] #define BED_MAXTEMP      120
Axis Configuration
- Setting the drivers (all are the same) for X, Y, Z, Z2, E0. E1 will be used as Z2 by default (commented lines are ignored):
[161-182]
#define X_DRIVER_TYPE  TMC2208
#define Y_DRIVER_TYPE  TMC2208
#define Z_DRIVER_TYPE  TMC2208
#define Z2_DRIVER_TYPE TMC2208
#define E0_DRIVER_TYPE TMC2208
[1697-1698] # Bed dimensions
#define X_BED_SIZE 240
#define Y_BED_SIZE 200
- The default end-stop settings work well. You always want to have pulled up end-stops (state 1 when not pressed), so that you get a higher chance of detecting a faulty one.
Movement settings
I'm using TMC2208 drivers with NEMA 14 for the axis, and BiQu H2 as an extruder. The micro-stepping is 16 (default).
I want to use the second extruder driver (E1) as a second Z axis (Z2). The default setting uses a common driver for Z1 and Z2. The auto alignment feature of the Z-axis requires both steppers to be decoupled.
Steps per unit
I'm using the standard T8/8 lead screws: 8mm pitch means that one revolution of the screw provides 8mm translation of the Z axis. The NEMA 14 steppers have a 200 steps per revolution. With the default 16 micro stepping, that makes it 3200 steps/revolution. Simple math makes it 400 steps/mm of translation.
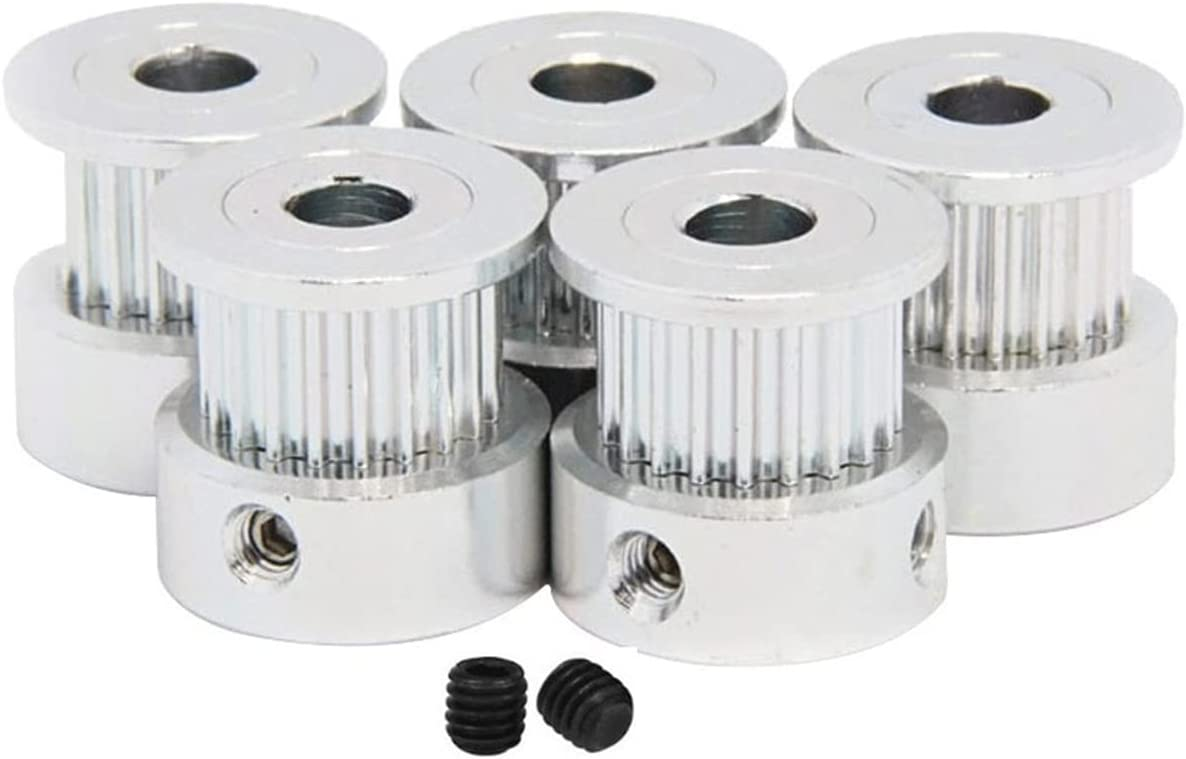
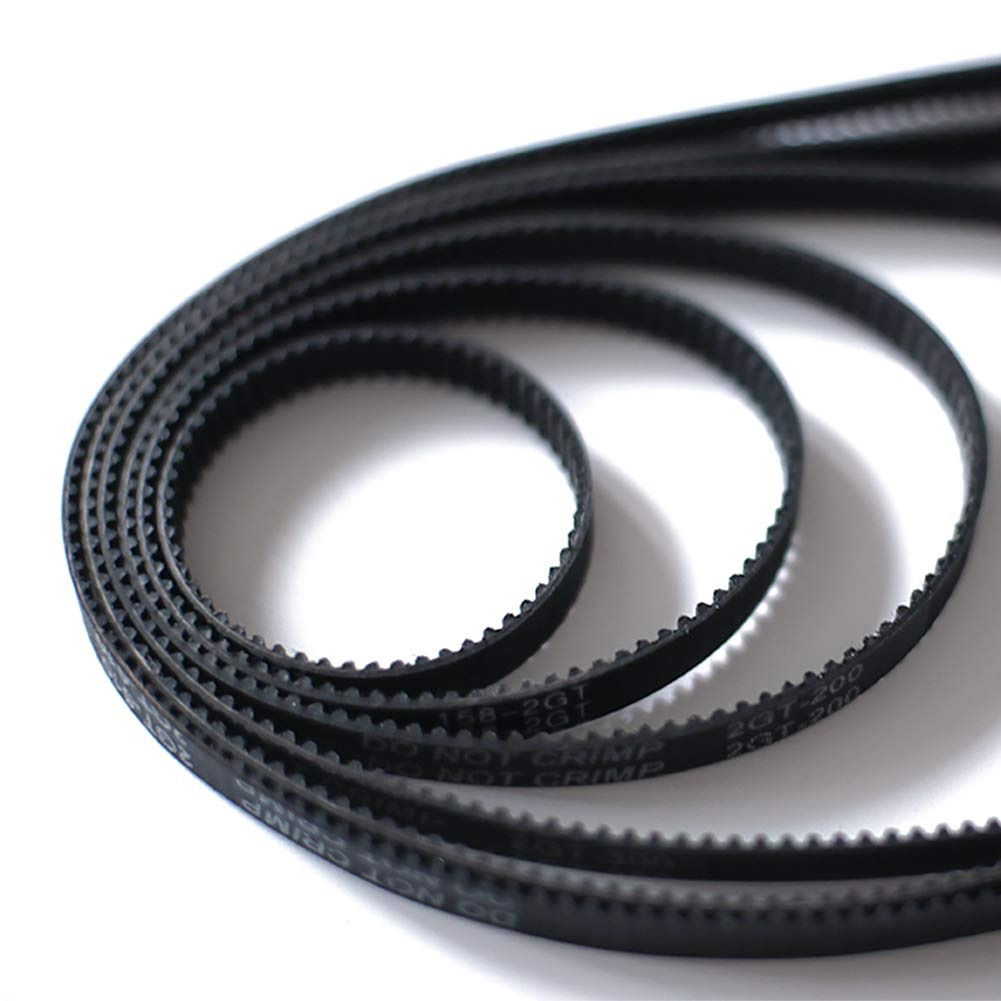
I'm using the GT6 belts and the 16 teeth gears. So a single revolution would cross 16 teeth (1mm)+ 16 gaps(1mm), which makes it 32mm per revolution. We get 100 steps/mm.
BiQu say that it should be 932steps/mm for 16 micro-steps. We'll start with that and calibrate it later (~ 951 after calibration: 196mm extruded when setting 200m extrusion of PETG at 245C).
[1171] #define DEFAULT_AXIS_STEPS_PER_UNIT { 100, 100, 400, 951 }
Movement directions
They can be adjusted in [1643-1664]. I normally wait until I flash the first firmware and check if I need to invert an
axis. Since I'm using a dual Z, you can adjust whether Z2 has the same direction as Z1 in Configuration_adv.h. It
turned out I need to invert Z2 and E0. This will depend on how you wire your steppers. This is how I wired all my
steppers:
[1656] #define INVERT_E0_DIR true  # configuration.h
[837] #define INVERT_Z2_VS_Z_DIR   # configuration_adv.h
BLTouch Probing
I've got a cheap knock-off a while back. Its accuracy is still to be tested, but it's precise and consistent with
0.04mm standard deviation (5 probes).
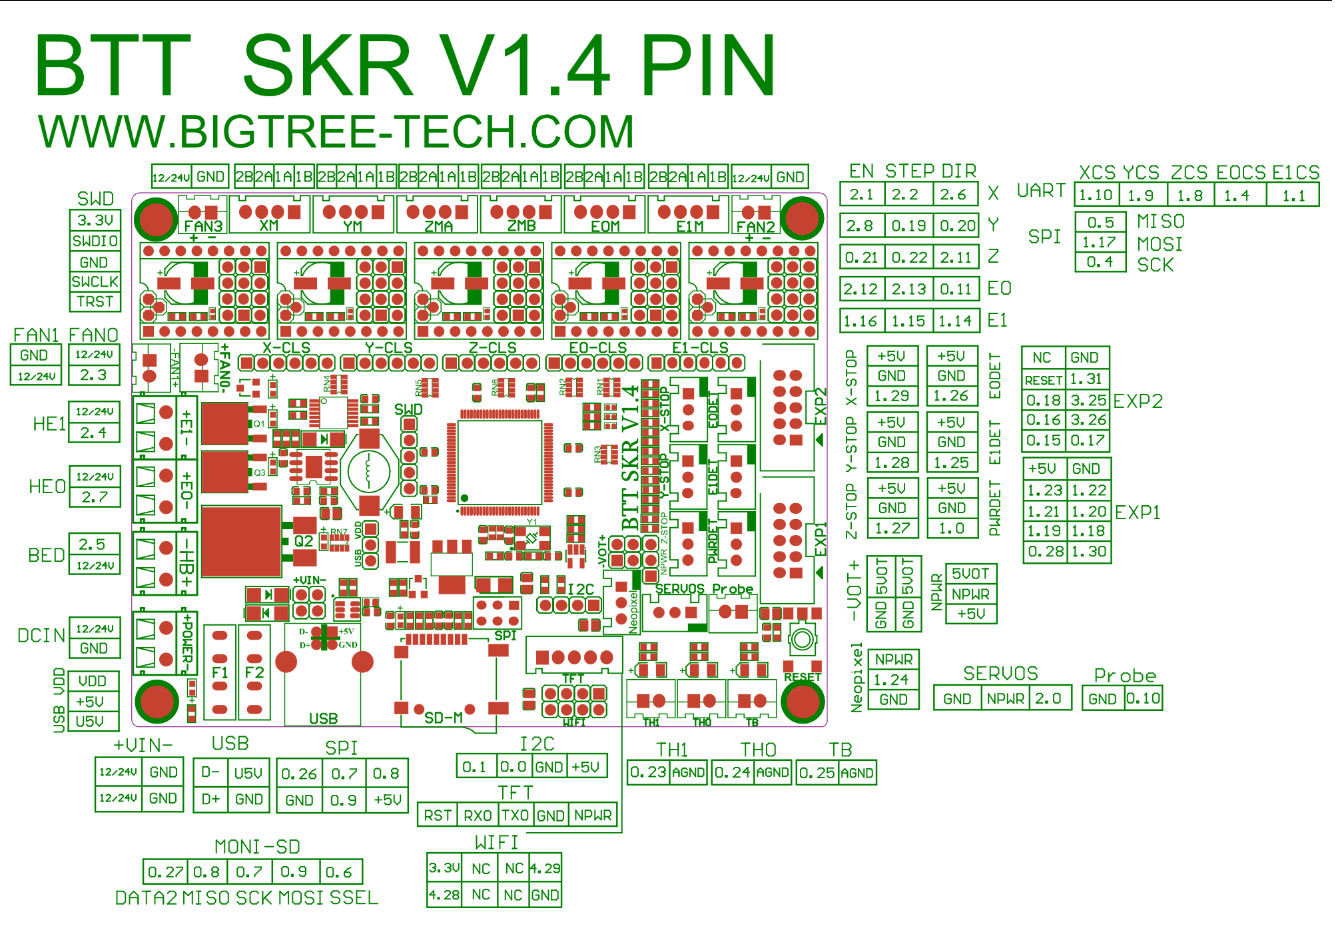
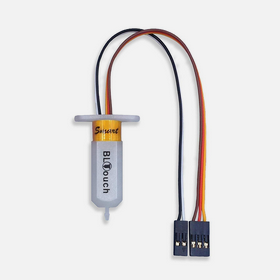
We connect the BLTouch to the Servo Probe in the bottom right:
| BL wire | board pin |
|---|---|
| White | Probe 0.10 |
| Black | Probe GND |
| Yellow | Servos 2.0 |
| Red | Servos NPWR |
| Brown | Servos GND |
- Comment to let Marlin know that we won't use Z-Min end-stop
[1277] // #define Z_MIN_PROBE_USES_Z_MIN_ENDSTOP_PIN
- and comment out:
[1280] #define USE_PROBE_FOR_Z_HOMING
- Activate BLTouch
[1334] #define BLTOUCH
- I like to use Unified Bed Leveling (UBL):
[1877] #define AUTO_BED_LEVELING_UBL
- But it requires persistent EEPROM to save the mesh:
[2179] #define EEPROM_SETTINGS
- And also Z safe homing to probe Z at the center of the printer's bed.
[2093] #define Z_SAFE_HOMING
# Offset between probe an hot-end
[1486] #define NOZZLE_TO_PROBE_OFFSET { 0, 60, 10 }
I recommend Chris
Riley's video tutorial on how to use Marlin Unified Bed Leveling.
- Activate the auto alignment of Z in configuration_adv.h
[968] #define Z_STEPPER_AUTO_ALIGN
The firmware should compile without an issue at this point. You'll get a yellow warning saying that Z2 will use the first free extruder.
LCD
My printer is based on a DIY build of Anet A8. I'll be using the REPRAP setting
[2577] #define REPRAP_DISCOUNT_SMART_CONTROLLER
It also has an SD card slot:
[2464] #define SDSUPPORT